Key Takeaways
- A 13x13 bounce house can typically be set up in 15–20 minutes by one or two people.
- Preparation, proper anchoring, and safety checks are essential for smooth setups.
- Choosing the right location, indoors or outdoors, reduces setup challenges.
- Expanding with bounce house combos, obstacle courses, and slides diversifies rentals.
- Busy entrepreneurs can save time with efficient packing, transport, and storage systems.
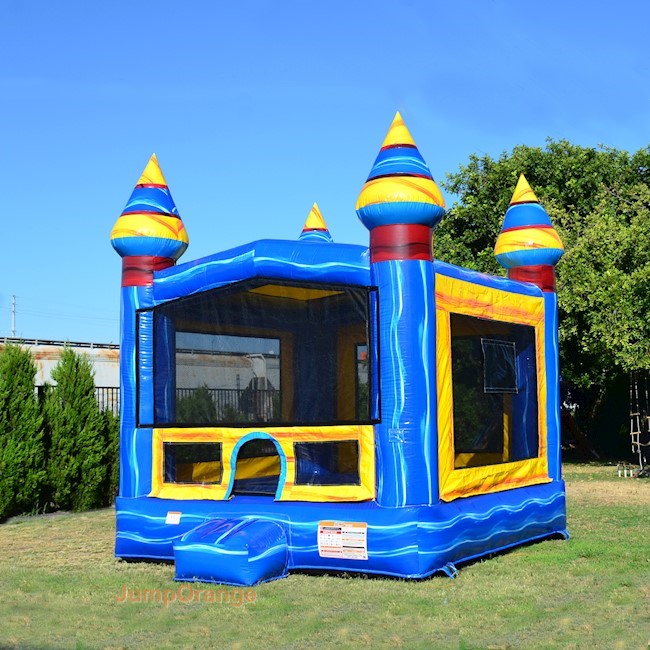
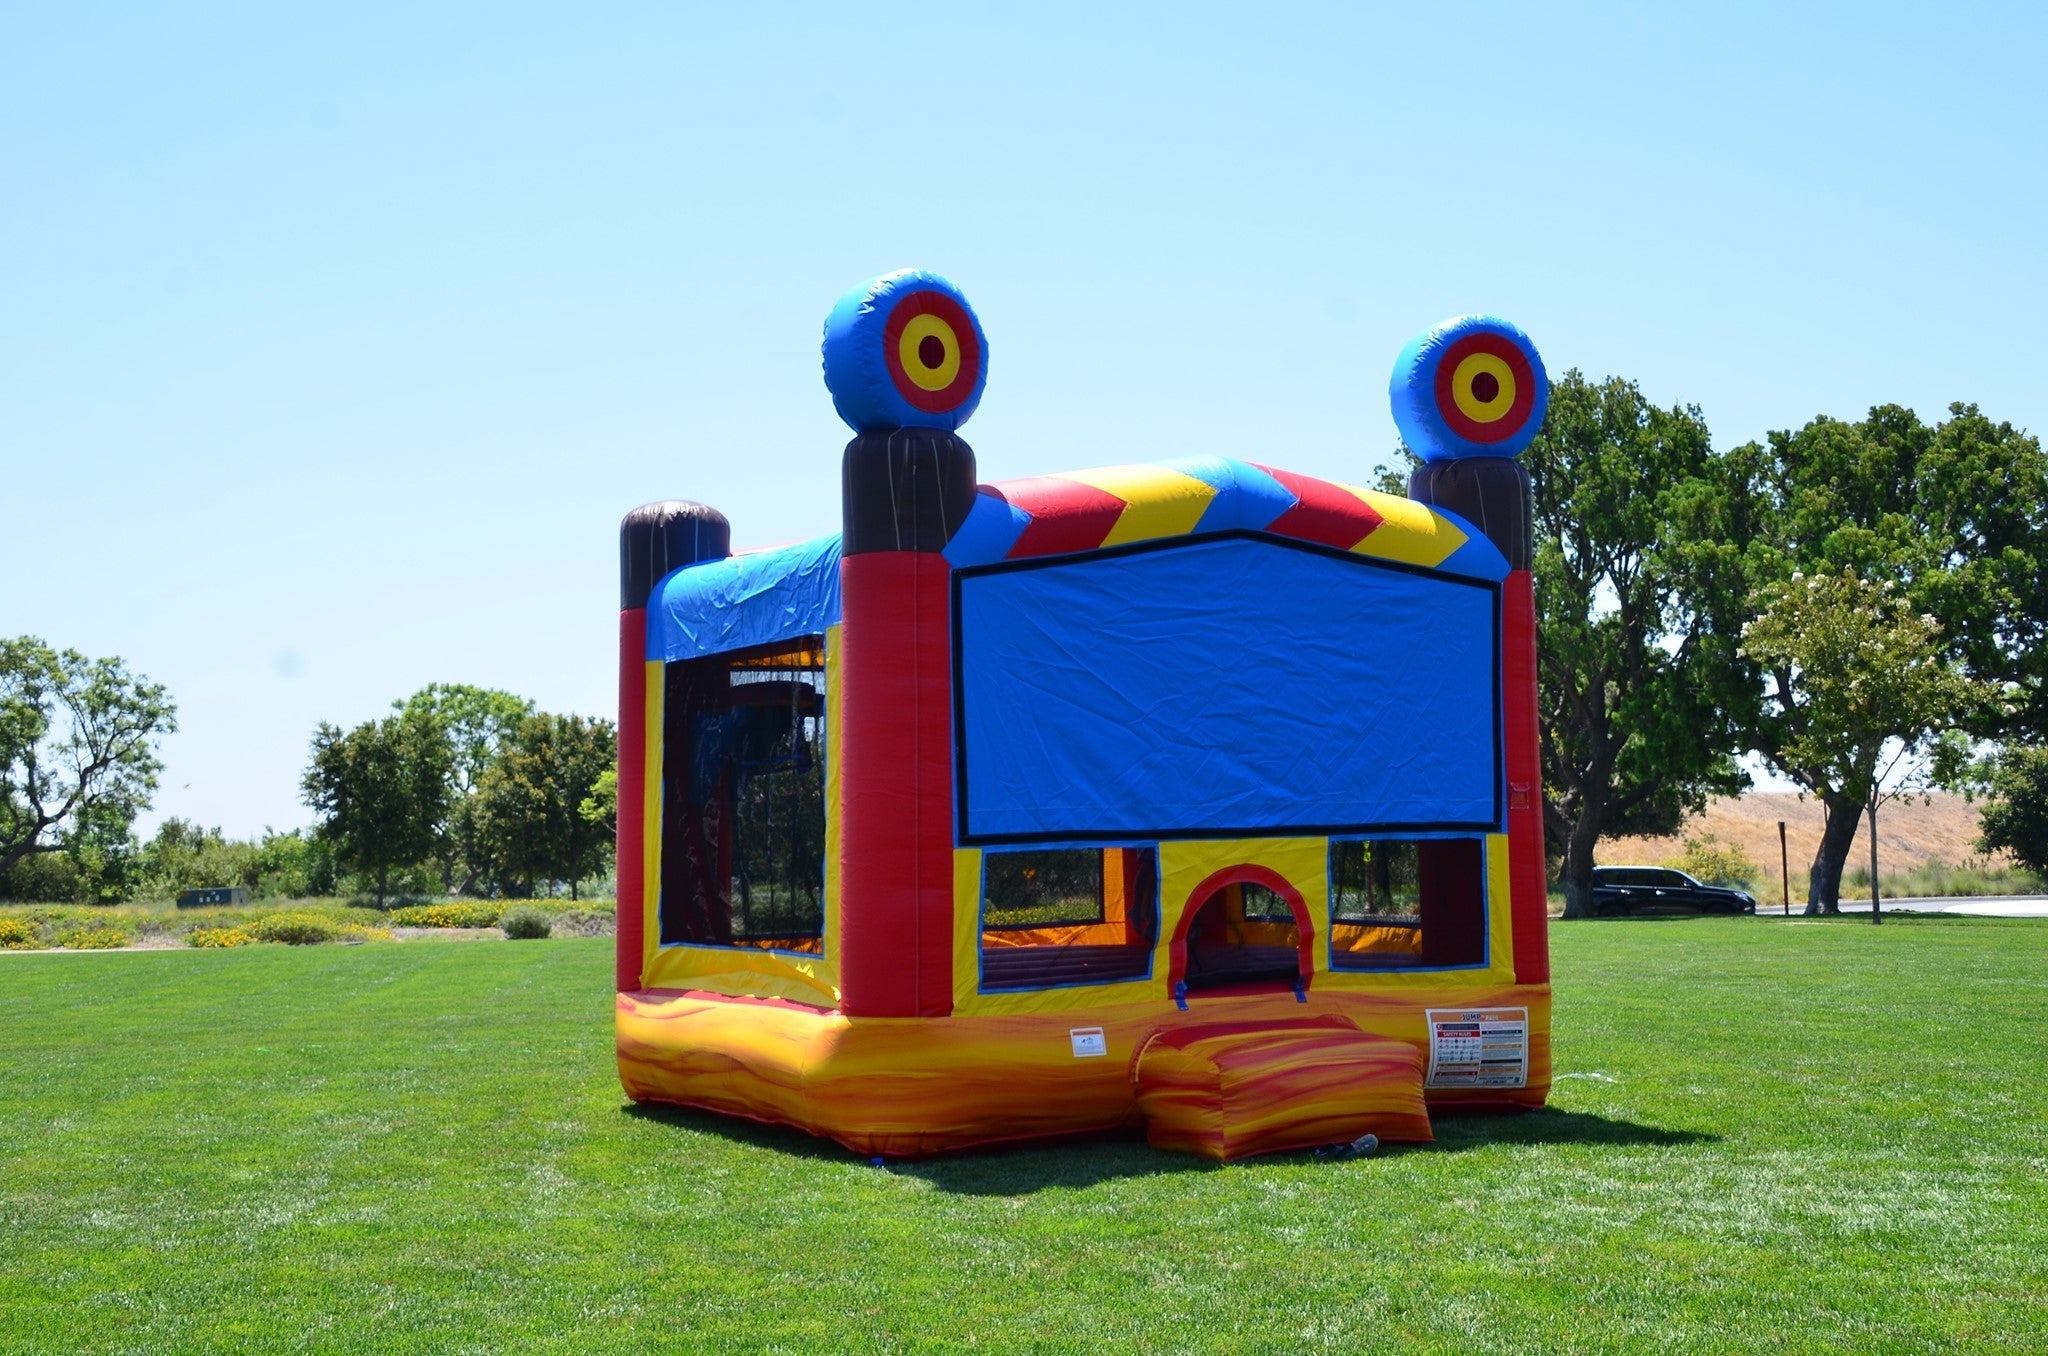
In the inflatable rental business, time is money. The faster you set up and tear down, the more events you can serve in a day. A durable 13x13 bounce house is especially popular because it’s compact, manageable, and quick to install, even for new business owners.
Key points on Quick and Easy Setup for a 13x13 Bounce House: Tips for Busy Entrepreneurs are:
- How Long Does It Take to Set Up a 13x13 Bounce House
- Indoor Setup Considerations
- Outdoor Setup Considerations
- Time-Saving Tips for Busy Entrepreneurs
For busy entrepreneurs, setup efficiency directly impacts customer satisfaction. Parents, schools, and event planners want their inflatable ready to go on time. Delivering fast, safe service builds trust and encourages repeat bookings.
How Long Does It Take to Set Up a 13x13 Bounce House?
On average, a 13x13 bounce house takes about 15 to 20 minutes to set up. This includes unloading, rolling out the inflatable, connecting the blower, and securing it with stakes or sandbags. Tear-down usually takes slightly longer, around 20–25 minutes, since the inflatable needs to be deflated, folded, and packed.
For first-time entrepreneurs, setup might take longer while you learn the process. However, with practice, most operators find they can handle it alone, though having two people makes things even faster. For those exploring the industry, JumpOrange provides helpful startup resources to guide new rental business owners.
Step 1: Choosing the Right Location
The first step to any setup is picking a good spot. Outdoors, a flat, grassy area is ideal. Avoid slopes, rocky terrain, or areas with overhead obstacles like tree branches or power lines. Indoors, check ceiling heights and clearances to make sure the bounce house fits.
For backyard parties, you’ll often set up in smaller spaces. Luckily, a 13x13 unit is compact enough to fit into most backyard settings while still giving kids plenty of room to jump. For larger events, like school fairs or community festivals, setting up on open grounds or gym floors works best.
Step 2: Unrolling and Positioning the Inflatable
Once the location is ready, unroll the inflatable and position it where you want it. Make sure the entrance faces a safe and accessible direction. Allow clearance on all sides for children to enter and exit easily.
Having a system for unrolling and folding helps save time. Some entrepreneurs use tarps underneath to protect the inflatable from dirt and speed up cleaning afterward.
Step 3: Attaching the Blower and Inflating
Every bounce house requires a blower to stay inflated. Attach the blower securely to the air tube and close all unused vents. Once powered on, the bounce house inflates in 2–3 minutes.
As the structure rises, check seams, zippers, and panels to ensure everything is inflating correctly. Busy entrepreneurs know this is also the perfect moment to double-check power sources and extension cords.
Step 4: Anchoring for Safety
Anchoring is critical to prevent movement during play. Outdoors, use stakes driven into the ground at each anchor point. Indoors or on hard surfaces, use sandbags or weighted anchors. Proper anchoring is a non-negotiable step in every setup.
For larger inflatable structures, like an obstacle course bounce house for sale, anchoring is even more important. These bigger inflatables handle more kids and activity, so they require extra stability.
Step 5: Safety Checks Before Use
Before letting kids in, inspect the bounce house for stability. Make sure anchor points are secure, the blower is running smoothly, and all safety nets and entrance flaps are in place. Review basic safety guidelines with the adults supervising.
Providing clear instructions not only keeps kids safe but also helps customers feel confident in your professionalism. Safety checks are part of what sets successful rental businesses apart.
Indoor Setup Considerations
Indoors, you’ll often set up in gyms, halls, or recreational facilities. Since you can’t stake into the ground, weighted anchors or sandbags are required. Indoor venues usually prefer this option because it avoids damage to floors.
Indoors also eliminates weather concerns. Many rental businesses market indoor setups as year-round entertainment options, appealing to schools, churches, and occasion planners.
Outdoor Setup Considerations
Outdoors is where bounce houses shine. With plenty of space, kids can enjoy hours of fun without restrictions. However, the weather is always a factor.
Entrepreneurs must monitor forecasts and reschedule if high winds or storms are expected. Outdoor setups also require extra cleaning, especially if grass, dirt, or mud gets inside. Despite these challenges, outdoor events are still the most common for bounce house rentals because they draw large groups and community attention.
Expanding Beyond the 13x13 Bounce House
Once you’ve mastered setting up a 13x13 unit, you may want to expand your inventory. Families and event planners often want more variety for larger or themed events.
- Bounce house combos: Add slides or basketball hoops for more activities.
- Slip and slide: Water-based inflatables keep kids cool and are perfect for summer rentals. Browse JumpOrange’s slip and slide options for backyard fun.
- Obstacle courses: Larger events benefit from interactive challenges like obstacle courses, which can be scaled up for schools or corporate groups.
Adding variety increases your rental fees and gives customers more reasons to book repeatedly.
Time-Saving Tips for Busy Entrepreneurs
Entrepreneurs juggling multiple rentals in one day need systems to stay efficient. Here are a few time-saving tips:
- Organize gear: Keep blowers, stakes, tarps, and extension cords in labeled bins.
- Use checklists: A setup and teardown checklist ensures nothing gets forgotten.
- Train staff: If you have employees, teach them consistent setup routines.
- Pack smart: Load your vehicle in reverse order of setup so the first items out are the ones you need immediately.
These practices reduce mistakes and help you handle more rentals with less stress.
Why JumpOrange Makes Setup Easier
At JumpOrange, our inflatables are designed with busy entrepreneurs in mind. With durable materials, reinforced seams, and thoughtful safety features, our bounce houses are built for quick setups and long-term use.
We’ve supported rental businesses for more than 20 years with inflatables ranging from 13x13 bounce houses to combos, obstacle courses, and slides. Our focus on quality and safety ensures entrepreneurs can run reliable, profitable operations.
Fast, Safe, and Profitable
A 13x13 bounce house is one of the easiest inflatables to set up, taking just 15–20 minutes. For busy entrepreneurs, this means less time worrying about logistics and more time growing your business.
By following the right steps — from choosing the location to anchoring and safety checks — you’ll deliver a smooth experience for customers every time. Expanding with slip and slides, combos, and obstacle courses gives you even more opportunities to serve events and maximize revenue.
Partnering With JumpOrange
At JumpOrange, we provide everything entrepreneurs need to build thriving rental businesses. From starter bounce houses to slip and slide units, combos, and obstacle courses, our catalog is built for durability, safety, and excitement. Explore our full range today and see why thousands of businesses nationwide trust JumpOrange for their indoor and outdoor rentals.

Leave a comment
This site is protected by hCaptcha and the hCaptcha Privacy Policy and Terms of Service apply.